|
|
|
Underlay
This section details the materials needed and process to make an underlay.
 Materials Needed:
- Image editor program- I use Corel Photo-Paint. Other popular programs include Adobe PhotoShop, Painter, etc.
- Photo Paper
- Comic Book Carboard Backing (cut to size from the Base/Interir section)
- Printer
- Plexi (completed from the Hardware/Plexiglass section)- Used for a template
- Xacto Kife-
- Mounting screws- Use any size for your taste. This is to mount the plexi on the base.
- Screwdriver- size dependant on the screw size chosen
- Power Drill
- Drill bit- size dependant on the screw size chosen
- Prepared Pushbuttons- Taken from steps in the Hardware/Pushbuttons section.
- Finished Base
Steps:
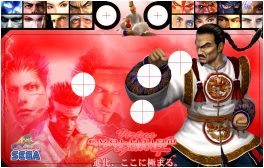
- Use your photo editor program to create your artwork. You will need prior knowledge of how to use one though, to create
a proper sized underlay. Be creative!
- Use the plexiglass that has the holes previously cut out, and use it as a template to trace the cutouts of holes on
the underlay.
- Do the same for the combic book backing.
- Mount the Cardboard backing, the underlay, then the plexiglass on your finsihed base. Drill the holes for the screws that
will hold the plexi to the base. I prefer less screws on the plexi, for a cleaner cosmetic look.
- Now mount the pushbuttons. At this point, you should be really excited to see how your hard work has paid off.
- Lastly, install the black jacket for the stick, along with the ball. Congratulations, all you need to do now is to
wire your stick up.
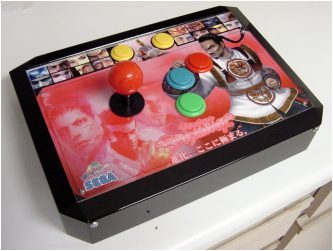
The final product:
|
|

|